In the backgammon posts I show doing the miter joint case and some pointers there that will also be included here, but this may bring to light some extras too.
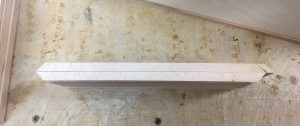
One of the first things I look at when putting the backgammon board case together is to show or display the best parts, and hide or cover in some way the lesser nice parts if there are any. This glue-up is going to show one of those instances where I have discolored wood that I would like to distract the eye from and make the other parts of the case more prominent. Here is the offending piece of wood, a maple piece that is beautiful in all respects except the darker color.
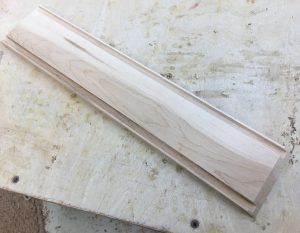
I am going to put this piece next to the pocket for the chips storage, and the darkest part is on the inside of the case, the outside isn’t quite as bad, although there is discoloration. I’ve done these before and made them look very nice and was able to save some stock that otherwise would be firewood. I really don’t like to waste wood, and while choosing wood you cannot always see the darkness that comes from re-sawing into something. The picture below shows the orientation I plan to use for this, which on the inside will cover the darkness with a pocket, it can still be seen, but not “looked at” so much.
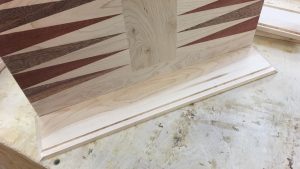
There is another important thing to do here, that is to make sure both panels are oriented in a mirrored placement. Both pocket panels that are on the bottom on the above picture are together facing each other.
Next we go through the process of cutting the cases. I did a walkthrough of this on the other post, but will go into some details here also. I start with the long pieces, and cut them to a close final length on my miter saw. I mark them using other pre-cut pieces that have the right angles and depth of dado cut for the panel. This is important for alignment reasons.
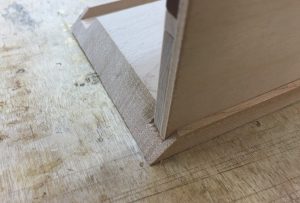
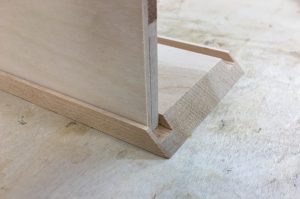
The picture on the left is the side I want to align with the end of my panel, this is supposed to be the correct stopping place for this panel in the side panel that is installed later. The right side is the end I need to trim to fit properly. I will show hot to mark those and make cuts shortly. The picture below shows a way to ensure you have correct panel placement, use a side panel to join the miter properly and push the panel into the dado and seat as you would in assembly.
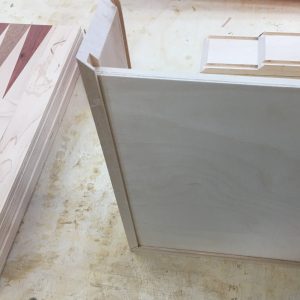
Next we need to mark our cut off place, and even this method may leave us with some trim work to do later. I don’t mind doing that for fit reasons, but at this point we’re too far away for perfect fit, we need all four pieces to be very close to right before we final fit them.
The pictures below show how I mark these pieces, notice the dado slot placement vs the panel end.
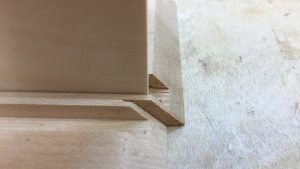
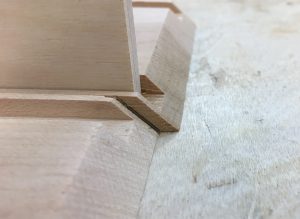
Next we head over to the miter saw. I still have my cut off fence installed and nothing has moved since I began this project. We will align the cut off to the fence and make our cut. I also have a laser line that comes on when the blade spins, that also helps me know that I’m on the right spot for the cut.
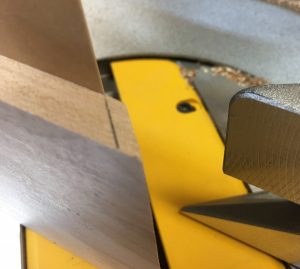
Now that we have pieces cut to approximate length, we can mirror our other two, and begin assembly. To do this I use the first cut pieces to mark the second cut pieces.
Once these are all cut and we have four really close panels, it’s time to dry fit. NEVER start gluing here!!! Put the pieces together and look for one final thing to work with, and that is space for glue and the panel to move as needed. We need to allow about 1/32″ for those things. I only glue the long panels and the miter ends, so the sides are a bit more forgiving here, but there must be some ‘space’ but not too much.
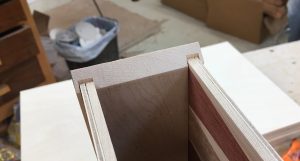
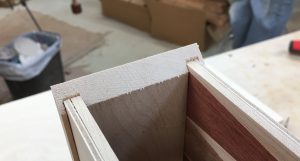
The picture on the left shows a little too much space left over, so retrimming the ends makes the extra space about right as the picture on the right shows. You may have to look closely to see the difference, but if you put on the side panel, you will be able to feel the difference when you fit the parts together, the long panel will have too much space to move in and may not cover the board as much as you want, the panel may not go deep enough into the dado.
NOTICE: When you cut a miter, you are moving the panels in two distinct directions, and if you intend only to use one of those, you in effect double the cut’s effectiveness. So when you cut here, make about half the cut you think you need and you likely will be where you want to be. If you need to do more you can, but you can’t put wood back on once cut off.
Now that we have the box put together dry, we can take panels off and glue them together and shown in the other posts.
