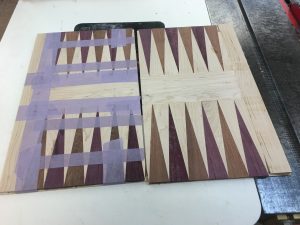
This section is about the sanding and fitting of the panels. They have been in the lamination press for a week or so now, and ready to come out and have the tape removed. The picture below shows the tape as I’m taking it off, and you can see the amount of residue left by the tape after being under pressure for several days. There is minimal adhesive showing and sanding will be easy to run.
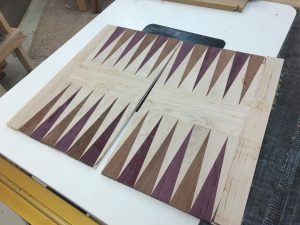
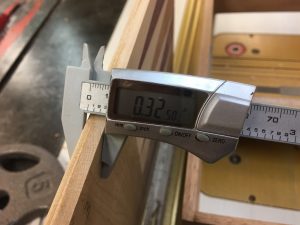
The next thing I can show is the thickness of the assembly before drum sanding and after. Remember, before we did any sanding the pieces were glued to a backer and are not necessarily all the same thickness, nor are they in a finished state, they can be rough and not flat. Once we go through the sanding process, the panels will come out flat and ready for final sanding. This run is with 150 grit, and the feed rate is set on 30 which I would guess is 30 inches per minute. I cut very small amounts, and do several passes. Once I get close to the final passes, I slow the feed down more and let the sander take more time to sand in the pass. I usually go down to about 18 inches per minute, and while I’m not sure how much I’m removing, I would guess it’s about 1/64th or less, maybe as little as 1/128th inch. The picture below is before I drum sand, and shows 0.32″.
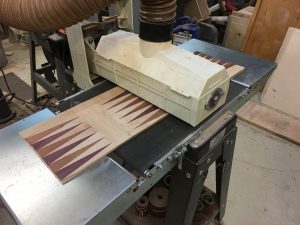
Drum sanding panels that go together is important. Don’t sand one panel to finish and then do the other, do them both at the same time. I’m working 14 of these boards, so there are 28 panels, I’ll do them in pairs, I don’t do the whole run at one time. I finish one set, then do another, and while I can do the single run and adjust only after running all 28 panels, it’s far easier to stop when needed on a panel set, and not cut more than is needed just to keep them all the same, and easier to keep pairs together.
Here is the panel set going through the sander.
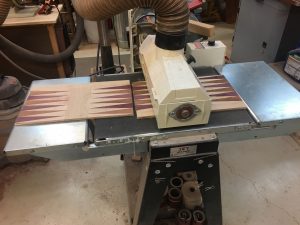
Once the panels are flat (notice I didn’t say smooth) I stop and prepare for a finer sanding pass, usually working down to 220 grit. I will also sand the panels as before in pairs with the finer paper in the drum sander, and then use a random orbit sander with 220 and 320 paper. I also at this point measure thickness of the panel and mark it on the edge of the panel for reference later.
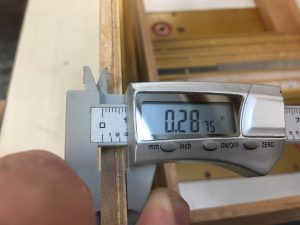
Notice, we went from 0.32 down to 0.28 or so. I’m not worried about the third or fourth decimal place here, it’s wood… and we need to allow for movement and glue. We will take off another 0.010″ in final sanding, so I would estimate the panel to end up at 0.27″ to about 0.26″. This is so close to the standard panel thickness of 1/4″ that cutting our slots in the case is quite easy to do with a proper fit. We still need to do final edge work on the panels, that will be shown later on.
What do you do with these now that they are sanded? Put them back in the press!! Don’t let them warp all over. Keep them held flat, and you will regret not doing this if you don’t believe me and keep them laying around for days on end not pressed. Don’t put them in a plastic bag, or try to keep air from them, just don’t let them lay un-pressed.
