This is the last installment on the playing board construction, we’re going to move on to the case construction in the next segments.
At this point the boards have been sitting in the press for a while, and they’ve been rough sanded level. Now it’s time to square them up and make sure all parts that matter align. When we applied the parts to the backer we set the long filler section against the guide. We are going to begin here, and the first thing to do is get rid of glue that has squeezed out while being pressed. I use a narrow belt sander to do this, but not sand enough to take any wood away. You can see the ends are the same width, and there are varying edges we need to deal with. The backer board was cut oversize for this eventual cut sequence, so we’re going to align some critical edges and make a sequence of cuts.
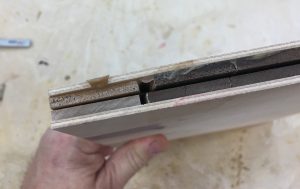
After cleaning up the cut on the first edge, I also run that edge across a joiner and make sure the edge is straight. Next align the center playing field, put the long machined edge on the table, and adjust the boards so that the center is properly aligned.
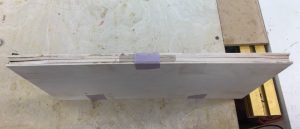
You will notice that I have taped the facing sides together and the center divider is aligned. This video explains more about how we got to this point.
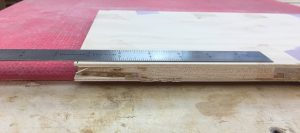
Next we’re going to cut the ends, but we need to make sure the center divider is actually centered in the case as well as aligned to each other. The next picture shows measuring the distance to the end, shortest length dictates the overall cut for both sides. Usually these are going to be the same anyway, but can in some cases vary a little. My number worked out to 6 1/4″ from the edge of the center divider to the cut line I need to clean the board up.
Next we’re going to the table saw to make a cut. You can see in this video that I am making cuts and flipping boards in a certain sequence.
I do the long ends first and align the marks I made for the cut by eye, and using a very sharp blade make the cut with a miter gauge. The last cut is for width, and is designed to clean up the last edge so that both panels are the same width, making both panels mirror images of each other and exactly square for case construction. When we’re done, we have panels that have nice clean edges and we can now remove any remaining tape, and final sand the boards in the drum sander and sand the backing board with a random orbit sander. I would suggest finish sanding completely both sides of these boards before mounting them into a case.
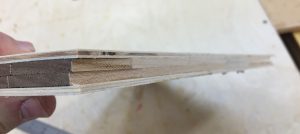
The final layout should look like this…
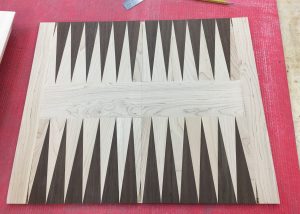
Now…on to the case material. You may notice that not all edges are flat from end to end, but we’ll deal with those little angles in the case construction.
