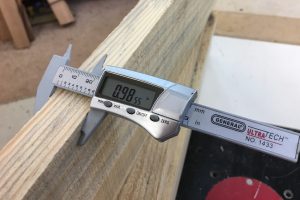
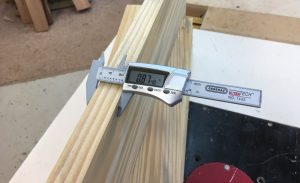
We’re beginning the case construction phase of this project. For my cases, and this fits all my projects that require a case/box container, I begin with thicker material, usually in the rough. In the rough means it’s right from the mill, not surfaced, but usually will be over an inch in thickness. As you can see below, this material starts out at almost one inch. This is pine in these pictures as it is easier to see rough vs surfaced wood. This wood was cut to a wider board than needed for the project, that allows me to machine out knots and other issues later. The middle pictures shows the boards at 7/8″ thickness and all surfaces are clean.
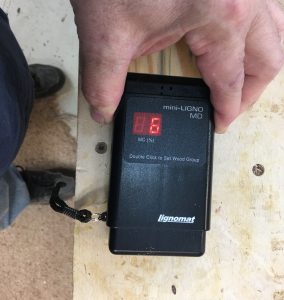
Also the last picture shows the moisture content at 6%. This part is very important!! Re-sawing a board is going to open up a surface that is of higher moisture content than the regular outside edge (where we measured) is. This is going to cause the board to warp after it is cut and you may think that you have just ruined a board, but patience is going to be you friend here again. As with all moisture changes, we need to allow these boards to stabilize. More on that later. Let’s set up the saw to make a cut.
First we need a bandsaw that has enough capacity to re-saw. I use a Rikon 14″ with a 3/4″ re-saw blade from Highland Hardware. I also recommend guide bearings instead of rub blocks, but that is a personal preference. The saw needs to be properly set up and sharp. Here is a video link to one of the best set up procedures I’ve ever seen. You MUST have a sharp blade, and proper fence system. Do not rush the cut, and be prepared with a push stick at the end of the cut.
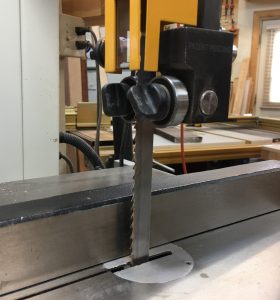
We can center the blade in the stock by making two cuts, first with one edge down, then flip the board over and make another cut. Center the blade between the two cuts as shown in pics below.
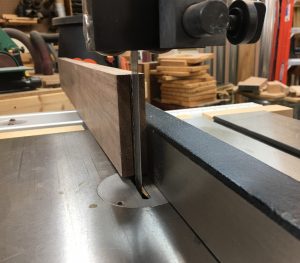
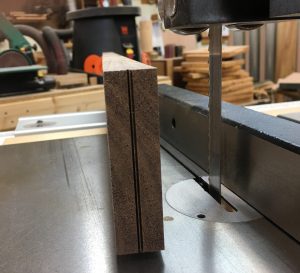
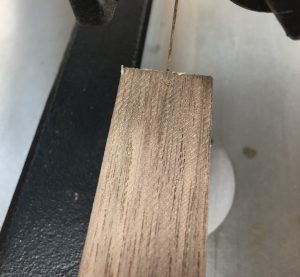
Now you are ready to make the cut, however you may see some blade wander. Here is a video of my doing a cut using the pine that we milled earlier.
When you use wood that is 7/8″ thick or better, you can anticipate 7/16″ more or less. Less is ok, but you should stay on the high side of 3/8″. If your blade is sharp and you go slow enough, you should have two boards that are equal thickness, or really close. Now you can surface the band sawn edges, but wait until the boards have stabilized for a few days before you do that.
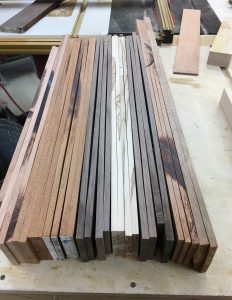
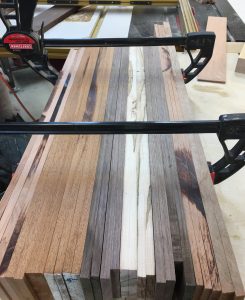
The picture on the left is a group of boards fresh off the bandsaw, and right is clamped again to hold straight while they dry. Yes, they will dry this way, but slower than if they were just laid out flat. Laying out flat will allow them to move where ever they want, and likely will nto be where you want them, so clamp them and wait. I will be waiting on these for a few days, once I’m ready to plane them, my goal is to have boards that are 3/8″ thick and clean surfaces. The next post will be fitting the case to the lamination board assemblies, we’ll be making a box at that point. Stay tuned.
